Another DIY post.
I'm in the process of remodeling our basement following last summer's flood. I got about half the basement painted when inspiration struck. My wife's bookcases are trashed, and this knee wall at the end of the room just looks sad. So why not cover it up with a built-in bookcase?
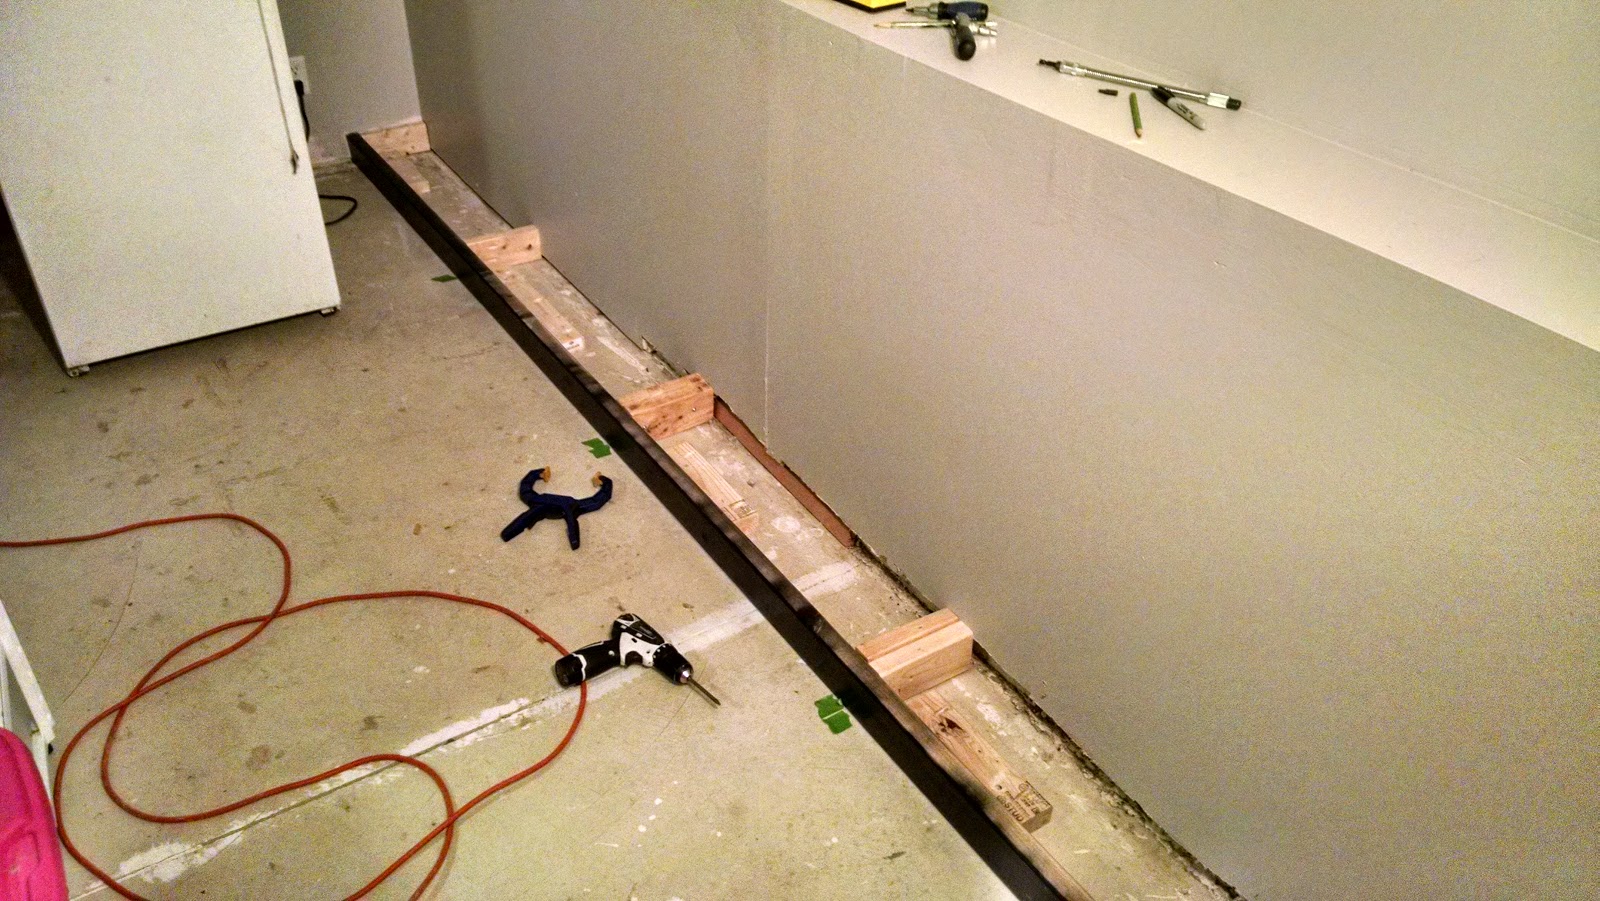 |
| 2x4 toe kick, painted black to visually disappear. |
Using a toe kick keeps the shelves off the floor and keeps things from rolling underneath. The 2x4s are sealed with polyurethane.
 |
| Cabinet bottoms for the two outside cabinets. |
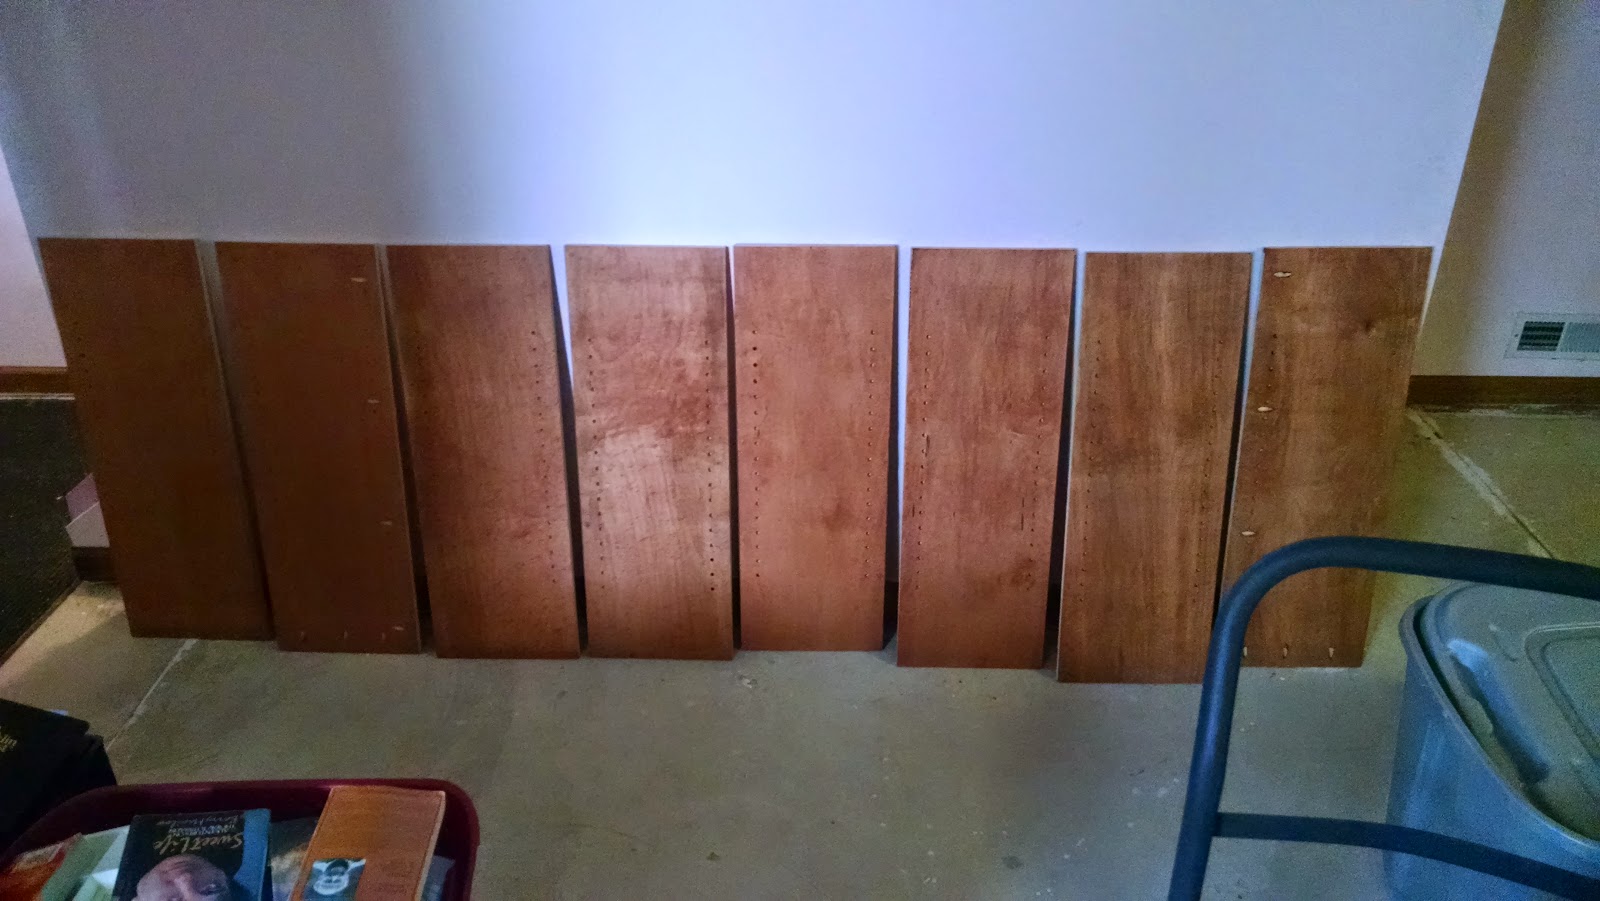 |
| Making the cabinet sides, drilled for 1/4-in shelf pins. |
The cabinet bottoms and sides are made from plywood ripped to 11-1/2 inch width. Traditional cherry stain to match the rest of the house, which is real cherry. Drilled for 1/4-in shelf pins, since the shelves will carry a lot of weight.
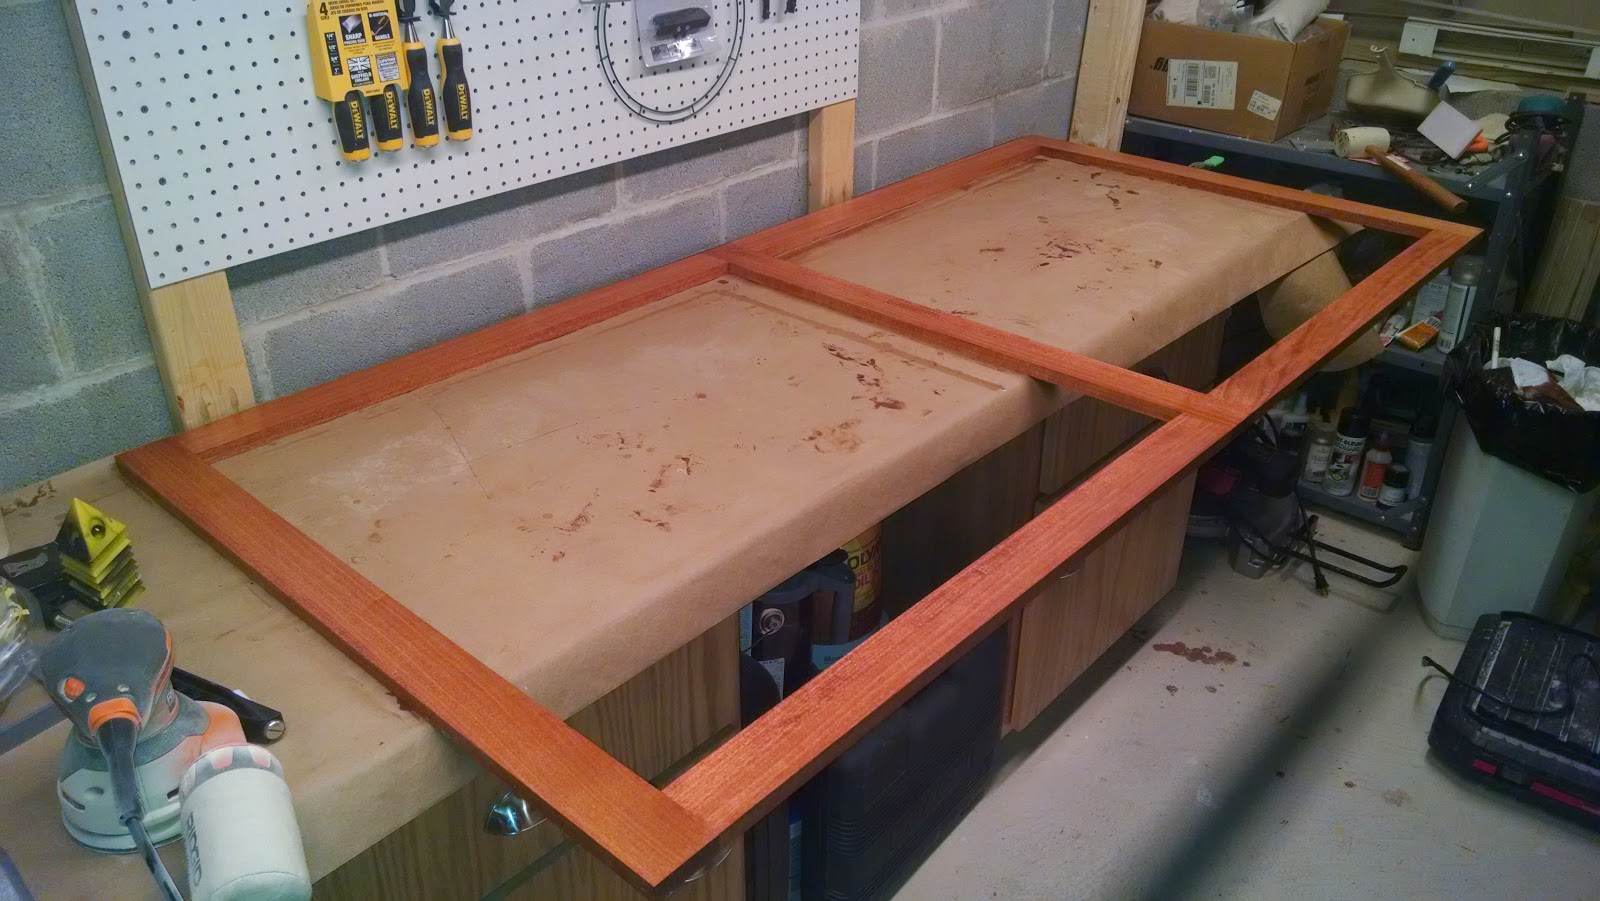 |
| Face frame for one of the outer cabinets. |
Made the face frames from 1x3 poplar. The inside stiles overhang enough to be the stiles for the center box, which will be match built once the end boxes are installed.
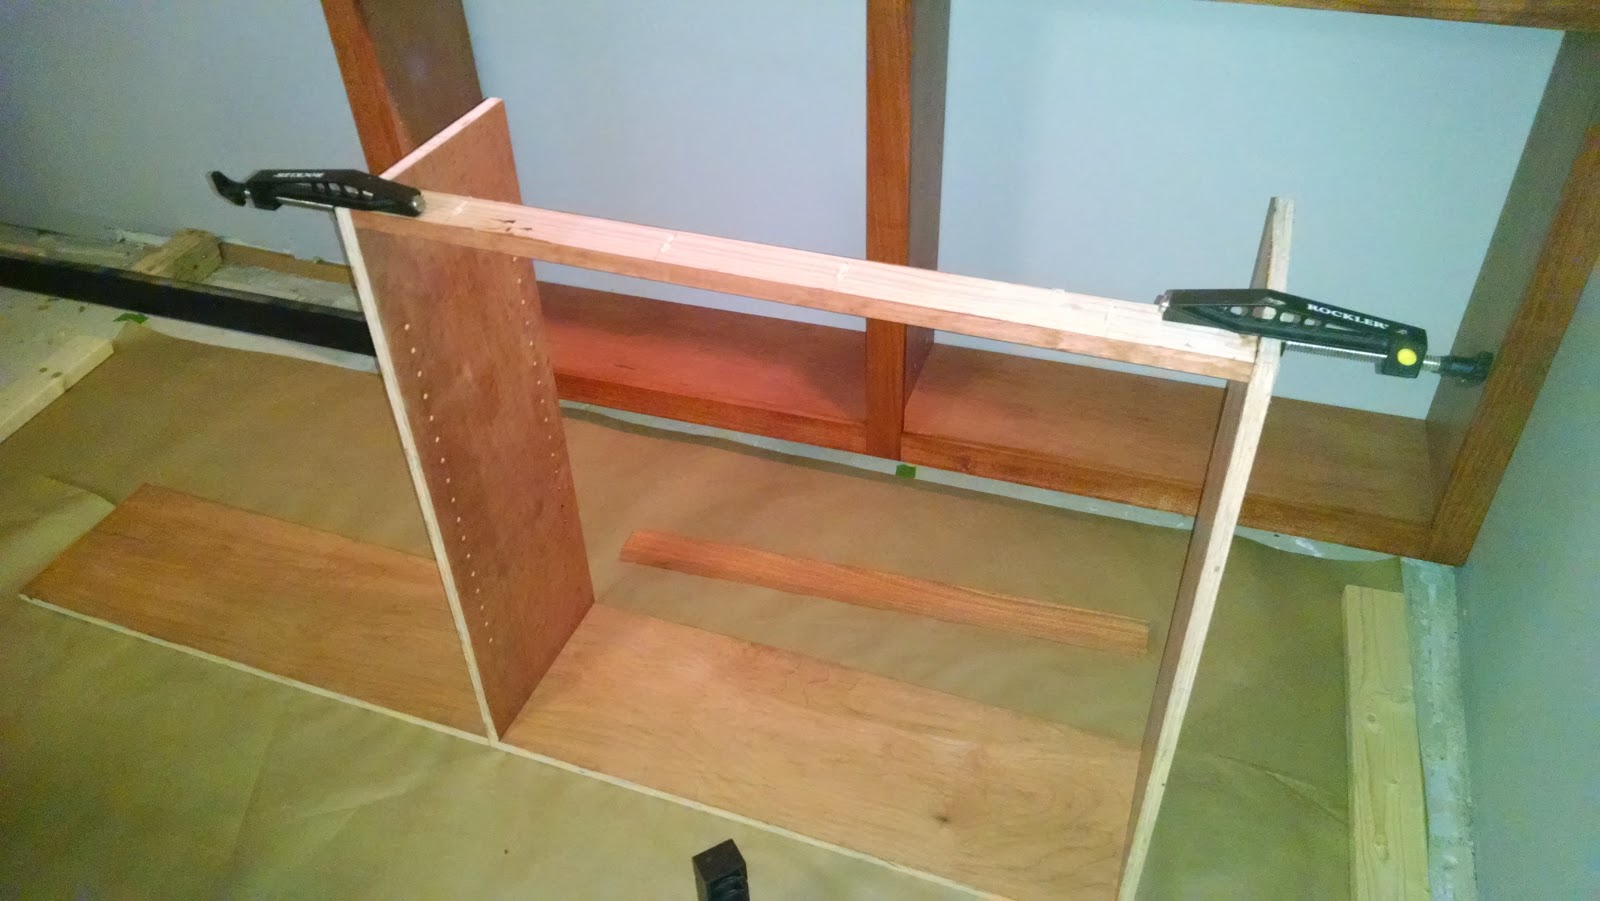 |
| Assembling a carcass. |
 |
| Finished carcass. |
 |
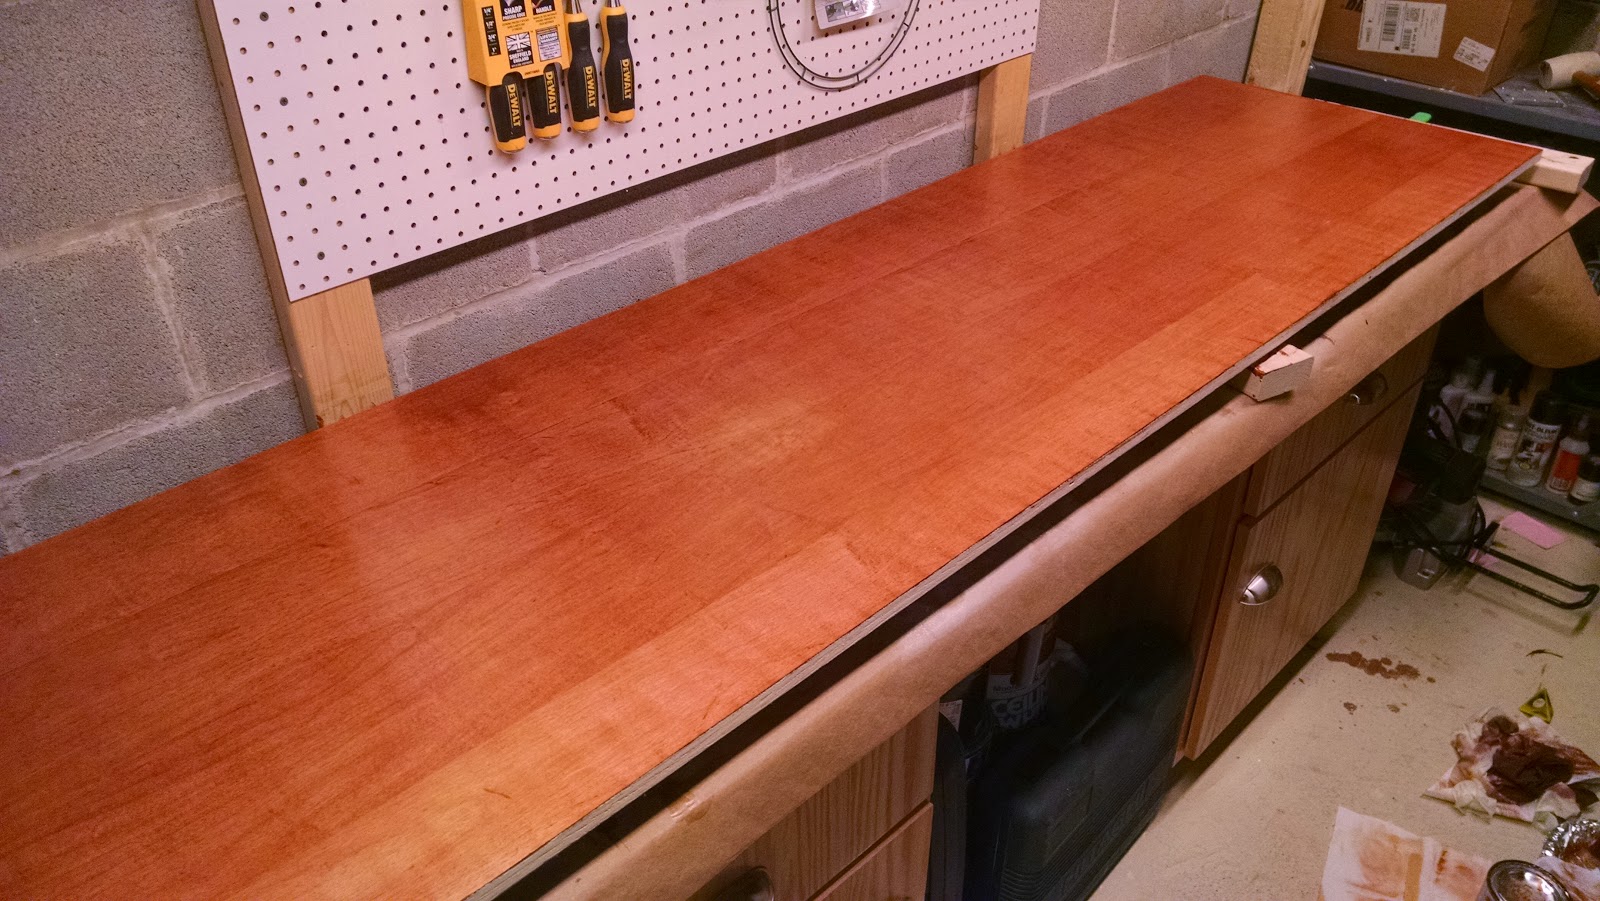
| Outer cabinets done. Time to make a center one to fit. |
Assembling the outer cabinets goes quickly. The toe kick gets obscured so the cabinets seem to float a couple inches off the ground.
 |
| Need to trim the table top sheets to fit the space. |
The table top needs to be trimmed precisely to fit the area where it will be installed. I can't get away without a seam, but it's only the basement.
 |
| Finishing a table top segment |
 |
| Pocket holes along the front edge of the tabletop. |
 |
| Splicing the table segments together |
 |
| Boxes and top done. Time to make shelves. |
The table top went better than expected. Using steel plates and a rail that spans the joint kept the top from breaking at the butt joint.
 |
| Test fit of the shelves. |
 |
| Edge band, stain, seal. |
The shelves are made from the same plywood, ripped to 11-1/4 wide. That way, they fit comfortably in the cabinets. I used matching edge banding to clean them up. It's pre-glued, so you iron it on, trim, sand the whole thing and you're ready to finish.
 |
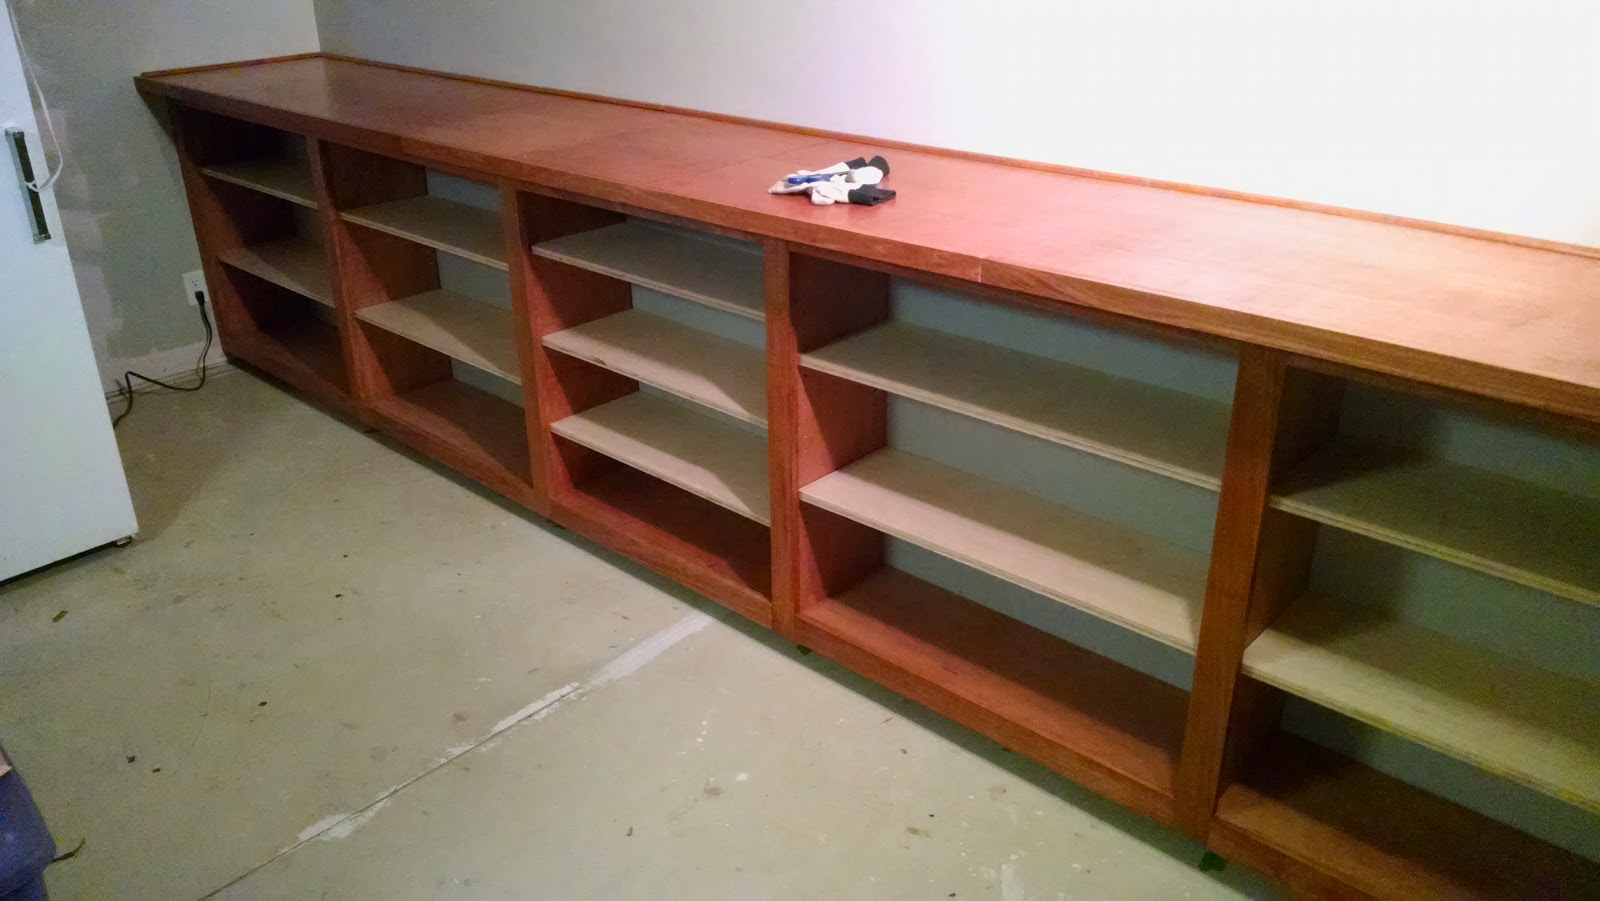
| Shelves installed, ready for books. |
Done.
It's not perfect by any means, but it'll hold a lot of books. It also covers up a ratty-looking wall that I'd otherwise need to demo and rebuild. Back to painting, I guess.