We just returned from our family vacation. This year, we spent a couple weeks touring southern California. I will get to those posts soon.
In the meantime, I've spent this weekend trying to readjust, with limited success. While it's very nice to drive on uncrowded roads and shop in familiar markets, I'm still jet lagged.
As a therapy, I made a rhubarb sauce.
We bought a fistful of rhubarb stalks. I took a half cup each of water and white sugar in a sauce pan and brought that to a boil while stirring. Meanwhile, I cut the rhubarb into half-inch pieces. Once the simple syrup was boiling, I reduced it to a simmer and added the rhubarb pieces. This was to simmer for ten minutes.
Halfway through that process, I decided to take a handful of blueberries that we had left over, smash them with a fork, and add them to the mixture. The result was a tarty, berry-like sauce that will go well over vanilla ice cream or velvety pound cake.
Tomorrow, I will return to work. I am a little apprehensive not knowing what to expect, since I disabled my work email on my phone for the duration of my vacation. I believed that my family deserved my attention, undivided. I'm not sure that was any better than quietly monitoring the progress of my projects, but what is done is done.
Sunday, July 12, 2015
Wednesday, June 3, 2015
Basement Remodel
To recover from last year's basement flooding we removed all the carpeting and damaged items and put everything else into a pile.
With the floor covering gone, I repainted the room.
About halfway around I noticed that the far section of drywall covering the knee wall was in poor shape. So I covered that area with a bar top and shelves.
With the floor covering gone, I repainted the room.
About halfway around I noticed that the far section of drywall covering the knee wall was in poor shape. So I covered that area with a bar top and shelves.
Once that was done, I finished my painting and installed a random-lot carpet tile floor. These carpet tiles just lift up, so they can be dried out if we experience more flooding down there.
My wife needed a few more shelves for her remaining books, especially the larger ones. So I made several shelf boxes with the left overs from the earlier shelves.
And that's pretty much it.
I did make one more item, though. My first big home improvement job that I did on my own was our master bathroom. I had a piece of solid cherry with a large, live edge knot in it left over from that project. I, also, had some granite remnants from it. So I cut a strip of granite, routed a corresponding dado across the board, and inset the granite flush with the surface of the board. I chamfered top and bottom and installed a bottle opener and catch bin to the board. This is now mounted in my basement.
So my project here is done. My wife is quickly taking the pile of her things and storing it properly, so we can more fully enjoy our basement area.
Monday, May 18, 2015
More Basement Shelves
After completing the basement shelf and bar, I had some scraps and cut-offs. The shelves under the bar are well-suited for most books, but not big enough, generally, for binders and large format books. So I decided to make more shelves with the remaining material.
Since the walls were all light French gray, I decided that the room needed a splash of color. So, instead of staining these shelf boxes, I decided to paint them blue with white frames and interiors. Since they were made from leftovers, they would each have different dimensions and designs, so a consistent color scheme would pull them together.
Their horizontal spacing is consistent, too, but not their vertical. Overall, they're not only super functional, but also add some visual interest to the room.
So I built the first shelf box and installed it. There would be no use making the rest of them if my wife didn't like them. At it turned out, she really liked the extra shelf room and the look wasn't displeasing, so I started making three more.
Another win. This was the hardest one to make due to its size. The long shelf is supported on the back edge with a nail board and in front by the frame. That should keep the shelf from sagging. The bottom rests on a square cleat (which helped me install this beast) that is painted the wall color, so it doesn't show.
Since the walls were all light French gray, I decided that the room needed a splash of color. So, instead of staining these shelf boxes, I decided to paint them blue with white frames and interiors. Since they were made from leftovers, they would each have different dimensions and designs, so a consistent color scheme would pull them together.
Their horizontal spacing is consistent, too, but not their vertical. Overall, they're not only super functional, but also add some visual interest to the room.
![]() |
| Drilling pocket screw holes |
![]() |
| Assembling the first carcass |
![]() |
| The first wall cabinet ready for installation |
![]() |
| First shelf box installed |
![]() |
| First shelf box |
![]() |
| Piecing together more shelf boxes |
![]() |
| My workbench covered and ready for painting |
![]() |
| Laying pieces out for painting |
![]() |
| Painting the parts |
![]() |
| The second one was the big one |
![]() |
| Assembling the face frame |
![]() |
| Face frame |
![]() |
| That's a really big frame |
![]() |
| Second box done |
![]() |
| This will hold a lot of binders |
Basement Carpet Tiles
We decided to refloor our basement with carpet tiles. That way, if we ever had another water problem we could possibly save the flooring ourselves. Also, using random carpet squares was very cost effective at a dollar a square foot and dead easy to install without any surface preparation other than a good vacuum.
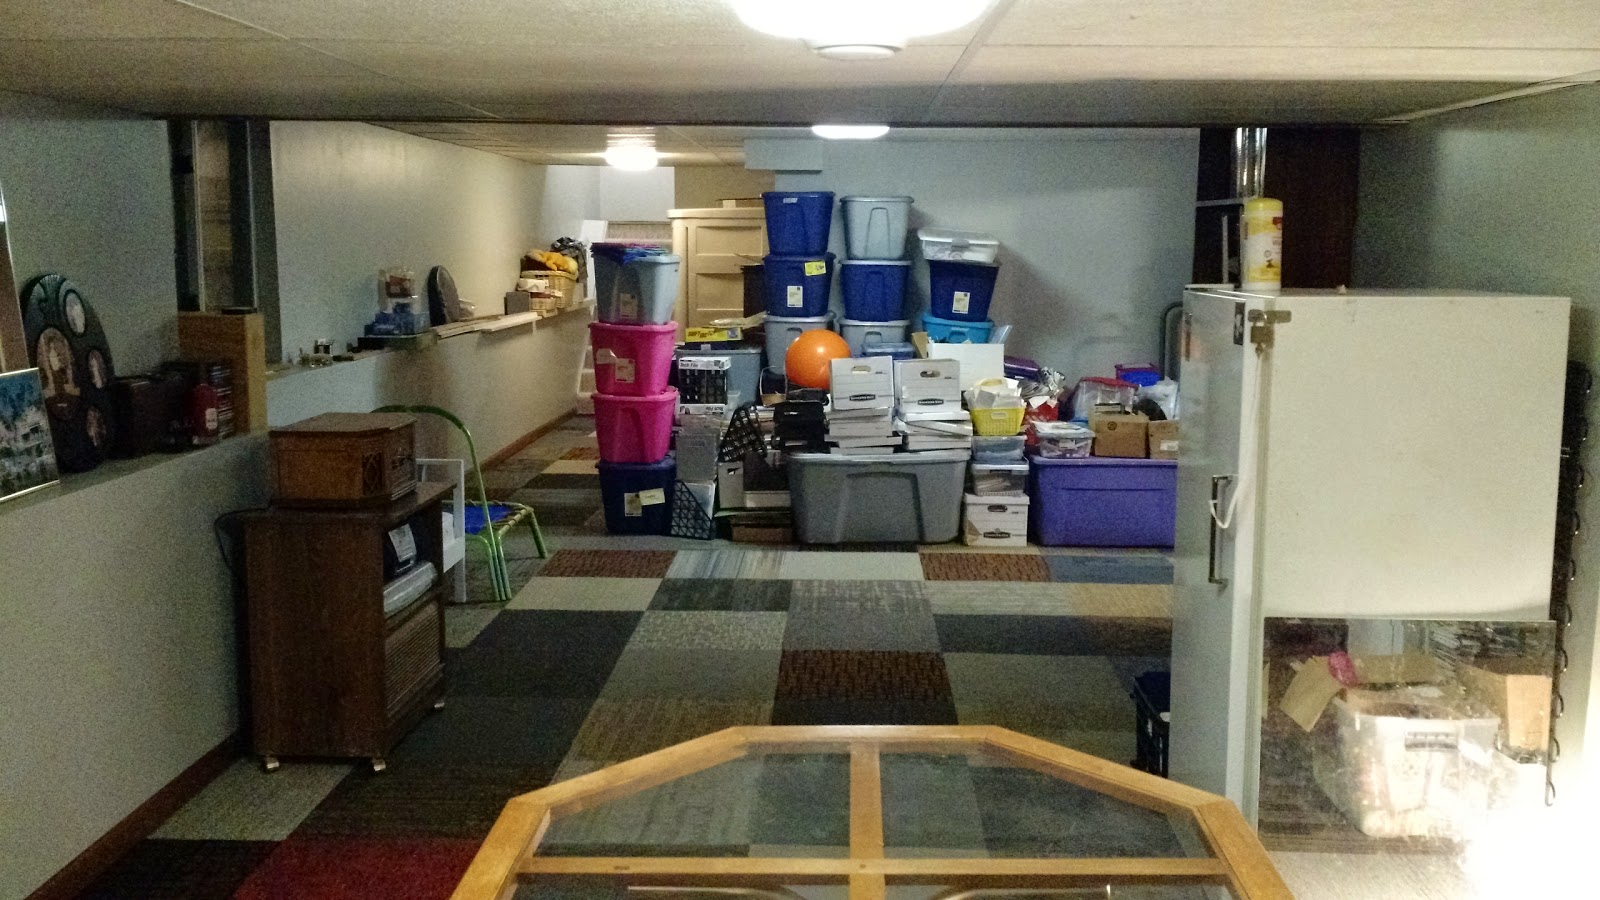
Our basement stuff, unfortunately, was simply piled up and that pile had to move about while the floor was being laid. In the end, most of that material ended up in one location, ready to be either stored or dispositioned.
Sunday, March 15, 2015
Basement Shelves
Another DIY post.
I'm in the process of remodeling our basement following last summer's flood. I got about half the basement painted when inspiration struck. My wife's bookcases are trashed, and this knee wall at the end of the room just looks sad. So why not cover it up with a built-in bookcase?
Using a toe kick keeps the shelves off the floor and keeps things from rolling underneath. The 2x4s are sealed with polyurethane.
The cabinet bottoms and sides are made from plywood ripped to 11-1/2 inch width. Traditional cherry stain to match the rest of the house, which is real cherry. Drilled for 1/4-in shelf pins, since the shelves will carry a lot of weight.
Made the face frames from 1x3 poplar. The inside stiles overhang enough to be the stiles for the center box, which will be match built once the end boxes are installed.
Assembling the outer cabinets goes quickly. The toe kick gets obscured so the cabinets seem to float a couple inches off the ground.
The table top needs to be trimmed precisely to fit the area where it will be installed. I can't get away without a seam, but it's only the basement.
The table top went better than expected. Using steel plates and a rail that spans the joint kept the top from breaking at the butt joint.
The shelves are made from the same plywood, ripped to 11-1/4 wide. That way, they fit comfortably in the cabinets. I used matching edge banding to clean them up. It's pre-glued, so you iron it on, trim, sand the whole thing and you're ready to finish.
Done.
I'm in the process of remodeling our basement following last summer's flood. I got about half the basement painted when inspiration struck. My wife's bookcases are trashed, and this knee wall at the end of the room just looks sad. So why not cover it up with a built-in bookcase?
![]() |
| 2x4 toe kick, painted black to visually disappear. |
![]() |
| Cabinet bottoms for the two outside cabinets. |
![]() |
| Making the cabinet sides, drilled for 1/4-in shelf pins. |
![]() |
| Face frame for one of the outer cabinets. |
![]() |
| Assembling a carcass. |
![]() |
| Finished carcass. |
![]() |
| Outer cabinets done. Time to make a center one to fit. |
![]() |
| Need to trim the table top sheets to fit the space. |
![]() |
| Finishing a table top segment |
![]() |
| Pocket holes along the front edge of the tabletop. |
![]() |
| Splicing the table segments together |
![]() |
| Boxes and top done. Time to make shelves. |
![]() |
| Test fit of the shelves. |
![]() |
| Edge band, stain, seal. |
![]() |
| Shelves installed, ready for books. |
It's not perfect by any means, but it'll hold a lot of books. It also covers up a ratty-looking wall that I'd otherwise need to demo and rebuild. Back to painting, I guess.
Subscribe to:
Posts (Atom)